A successful product photography shoot is needed to get fantastic product photos. However, you do not need to be a professional photographer or have a studio to accomplish this. Using these tools and tips, you can set up a product photography setup at home or take great photos outside.
1. Prepare Well for the Shoot
Whether you’re an experienced photographer looking to optimize your workflow or a beginner just getting started; these tips will help you get more out of your photographs. To plan a successful shoot, follow these best practices.
Create a Shot List
Before you begin, consider the various aspects of your products that you want to highlight and the best way to capture them. This will assist you in planning the sequence of your shots (for example, taking all of the close-up detail shots before switching lenses to photograph your product from a distance) and determining which equipment you will require for your shoot.
Shoot in Batches
Photo shoots can be labor-intensive and time-consuming, but photographing multiple items at once can save time and create consistency. Schedule time for shooting and note the date, time of day, lighting conditions, and weather each time you shoot so you can recreate the same conditions in your next shoot.
Gather Your Supplies
When planning a photo shoot, gather all of the necessary equipment. Specific materials may differ depending on where you are shooting.
Photo Shoot Essentials
-Camera or smartphone
-Table or surface to shoot on
-Natural or artificial lighting
-Background
-Tripod
Recommended Tools
-Light reflectors
-Shutter release cable
-Camera lenses, including a macro lens (for fine details or small items)
-Clips for securing background
-Props
-Back-ups: Memory cards, spare camera batteries, portable phone chargers, camera chargers.
2. Select Your Background

Photographing your items against simple, clutter-free backgrounds keeps the shopper’s focus on your product rather than its surroundings. Choose a background that complements and highlights your product while not distracting from it. When in doubt, go with a neutral background color like white or grey. Using a few consistent backgrounds in your photos helps to create a more cohesive-looking brand and shop.
Seamless Backgrounds
Hang a roll of seamless paper behind your product to create a smooth, clean background by attaching it to the wall, a piece of cardboard, or hanging from a backdrop frame. Then, gently roll or extend it down the wall, laying it on the surface you intend to place your product on (for example, a table—or, if it’s a large object, the floor). Allow for a slight curve in the material, and place your product several inches in front of where the background curves. Weigh the material at the bottom, but be careful not to crease or wrinkle the background material. Keep tape and clips on hand to secure and adjust your seamless backdrop.
Outdoor Backgrounds
Through lifestyle product photography, outdoor settings can be ideal for conveying the context of your products. For example, if you sell backpacks, photographing a model wearing one while hiking can help convey the utility of your product and allow customers to imagine themselves using it. (It can also subtly convey the message that using this bag will make them more adventurous.) Try combining outdoor backgrounds that provide context for your products with a few indoor studio shots, so shoppers get the essential information they need about your products.
3. Lighting Your Shot

Good lighting is essential for excellent product photography. It allows customers to see the details and colors of your products more clearly. The best way to light your products is to avoid harsh light, whether a strong fluorescent indoor bulb, direct sunlight, or a camera flash.
Natural Light
Do you lack lighting equipment? With a few tricks, sunlight can produce stunning photographs:
Diffusing the Light – Use indirect sunlight to avoid harsh shadows. Wait for a cloudy day if you’re shooting outside. Shadows can be cast by direct sunlight. You can also avoid harsh direct sunlight by shooting in partial shade and outside peak hours. When photographing products indoors with natural light, try positioning them a few feet from a window and aiming for a time of day when light is plentiful but not directly on your product (overly bright light can cause details to get washed out). If the light is too harsh, drape a thin white bedsheet over the window to diffuse it and create a soft glow.
Using Bounce Cards – On cloudy days, a bounce card can be used to reflect light onto your product. White poster board or a piece of cardboard covered in aluminum foil can be used to make simple DIY bounce cards (also known as reflectors). When taking photos, wearing white clothes can help reflect light back onto your product.
Never Combine the Light – To achieve the best results, avoid combining natural and artificial light because they have different color tones.
Artificial Light
Artificial light is easier to work with in some ways because it can be controlled. Read on for advice on working with the various artificial light types available.
Box Lights – In general, your home’s overhead lights will not produce enough light to adequately illuminate your product, and using a single spotlight lamp can result in unflattering shadows. Set up two or three softbox lights (artificial lights diffused by sheer fabric) to light your products from both sides and above for the best results. Shadows are reduced by lighting from the top and two sides. These are simply studio lamps on stands that can be moved around to illuminate your product.
Light Box or Tent for Small Items – If you photograph small items, you could opt for one of these mini studios that filter the light coming in. A light box (with solid walls) or light tent (with fabric walls) can streamline your process with a consistent backdrop and light source. You can even make your DIY light box.
Use Caution When Using Flash – While we advise against using the built-in flash of your camera (because it is located by the lens, using it will result in flat, washed-out photos), you can achieve better results by using an external flash or Speedlight paired with a DSLR or mirrorless camera. A radio-controlled model that you can move around your object gives you more control over the light’s direction. A flash diffuser can also assist in dispersing flashlight, making it less harsh and removing deep shadows.
4. Making Your Shots Clear and Focused

Product photographs must be in focus because clear product shots give customers more confidence to make a purchase. To get sharp shots, follow these tips.
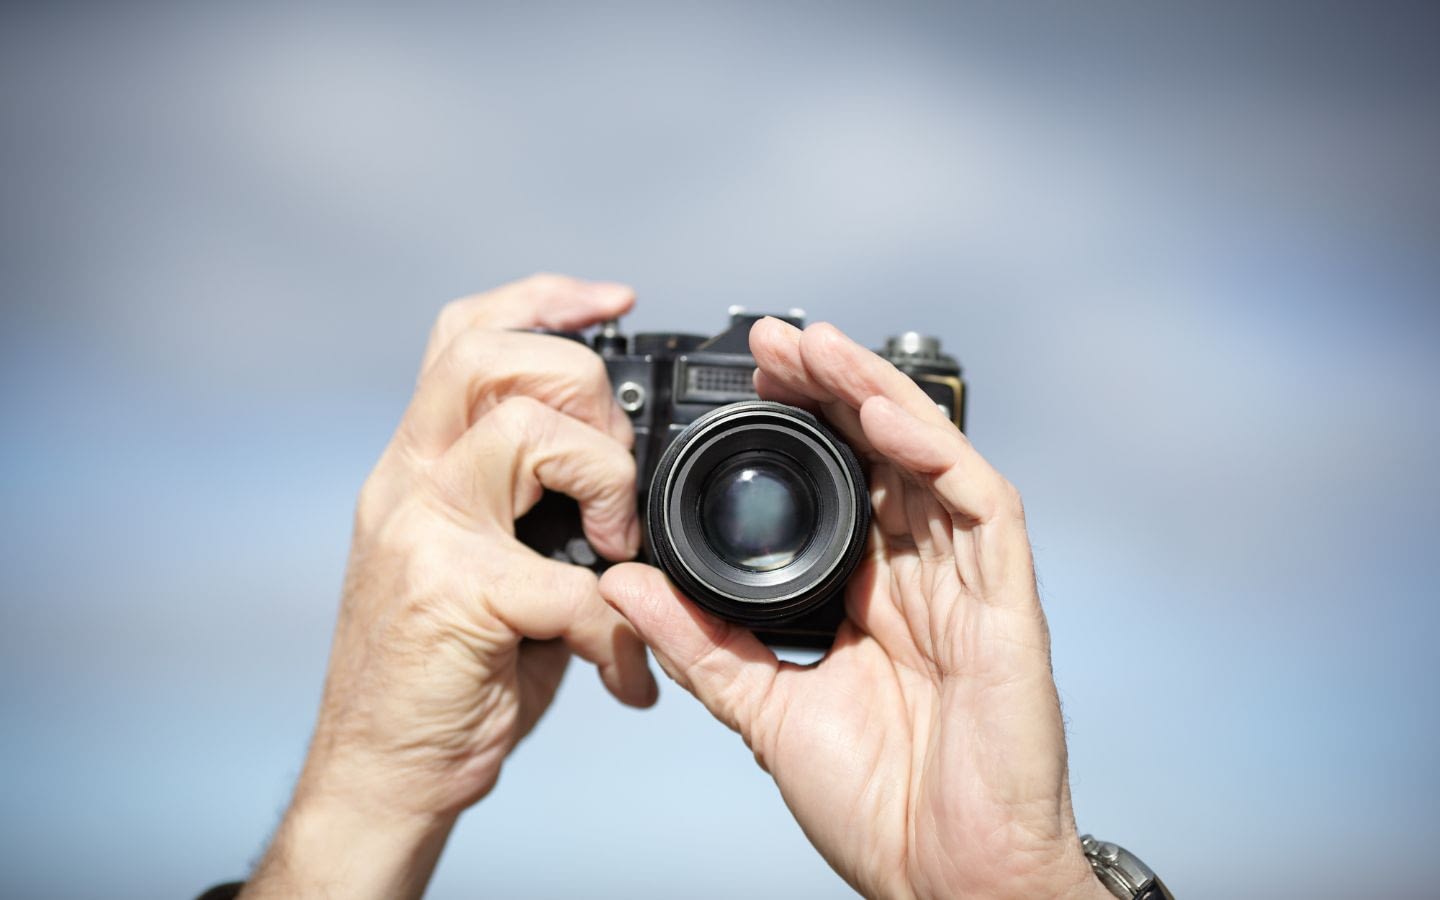
Anchor Your Camera
A steady camera is required to take clear photos of your products. If you hold the camera with your hands, you are more likely to move it slightly while photographing, resulting in blurry images. Place your camera on a tripod or a solid surface, such as a sturdy stack of books, to keep it stable. Any hard surface will provide stability, but a tripod will allow you to adjust your camera angle more easily.
Autofocus
Take control of the exposure manually, but let your camera do the focusing. Most cameras that allow you to select an autofocus point can zero in on objects more precisely than manual lens adjustments. If your photos are blurry, ensure your camera’s autofocus function is turned on. It’s a minor detail that can significantly impact the quality of your photos.
Be Cautious with Slow Shutter Speeds
It can be incredibly challenging to avoid blurriness when using a slower shutter speed (for example, in low light conditions). The natural movement of your body when you breathe can cause the camera to shake. Increase your shutter speed if possible. Anchoring your camera will help if not.
Use the Proper Equipment
If you’re still getting blurry images, it’s possible that pressing the shutter release button on your camera is causing movement that is affecting the focus. Using a shutter release cable will help you avoid this. Consider using a macro lens if you’re having trouble focusing on close-up shots. They have image stabilization built in to help you capture a more stable image.
5. Frame Your Shot

Composing your shot on camera decrease the need for post-production editing. Instead of photographing your product haphazardly, plan out each shot by looking through your viewfinder and framing the scene.
Rule of Thirds
Determine how you want the image to be positioned. Do you want to shoot your product horizontally or vertically? How close or far do you want your shot to be? Consider how you want to approach your subject (on Etsy, we recommend varying angles, including at least one clear shot taken straight on). Where do you intend to place your product in the frame? You can use the “rule of thirds” to help you: imagine dividing your frame into nine parts by drawing two invisible lines in both directions. According to research, the eye is naturally drawn to the intersections of these invisible lines, so placing your product in these areas can help draw shoppers’ attention to it. Place your product in the center of one of the intersections of the lines.
Get Rid of Potential Distractions
Consider all objects in the frame and compose the shot to include only visual elements that help to highlight your product. For example, ensure the area is clear when shooting in a park to avoid capturing joggers. Keep visual clutter like doorframes and laundry bins when shooting inside. Photographing your product in close-up detail may capture unwanted details such as lint, fingerprints, or dust bunnies. Take the time to clean and organize the location where you will be shooting. The more deliberate you are in your choices and details, the better your photos will turn out.
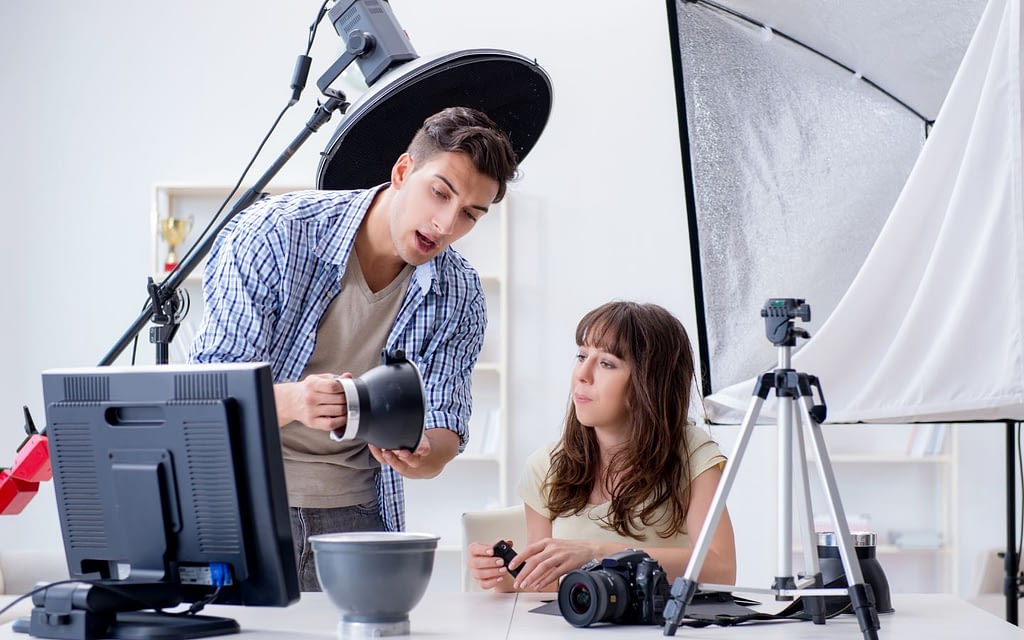
6. Test Your Setup

Take some test shots before taking too many photos to ensure that the lighting, props, and composition are to your liking. It’s easier to fix lighting or composition issues while shooting than to fix lighting, blurring, and crop out distracting props after the fact. Upload a couple of shots to view on a larger monitor because it’s easy to miss details in your camera’s small viewfinder. Although this extra step takes time, double-checking that your products look great in the long run will save you time.
Want video content ideas for your Etsy listings? Read this blog right here!


