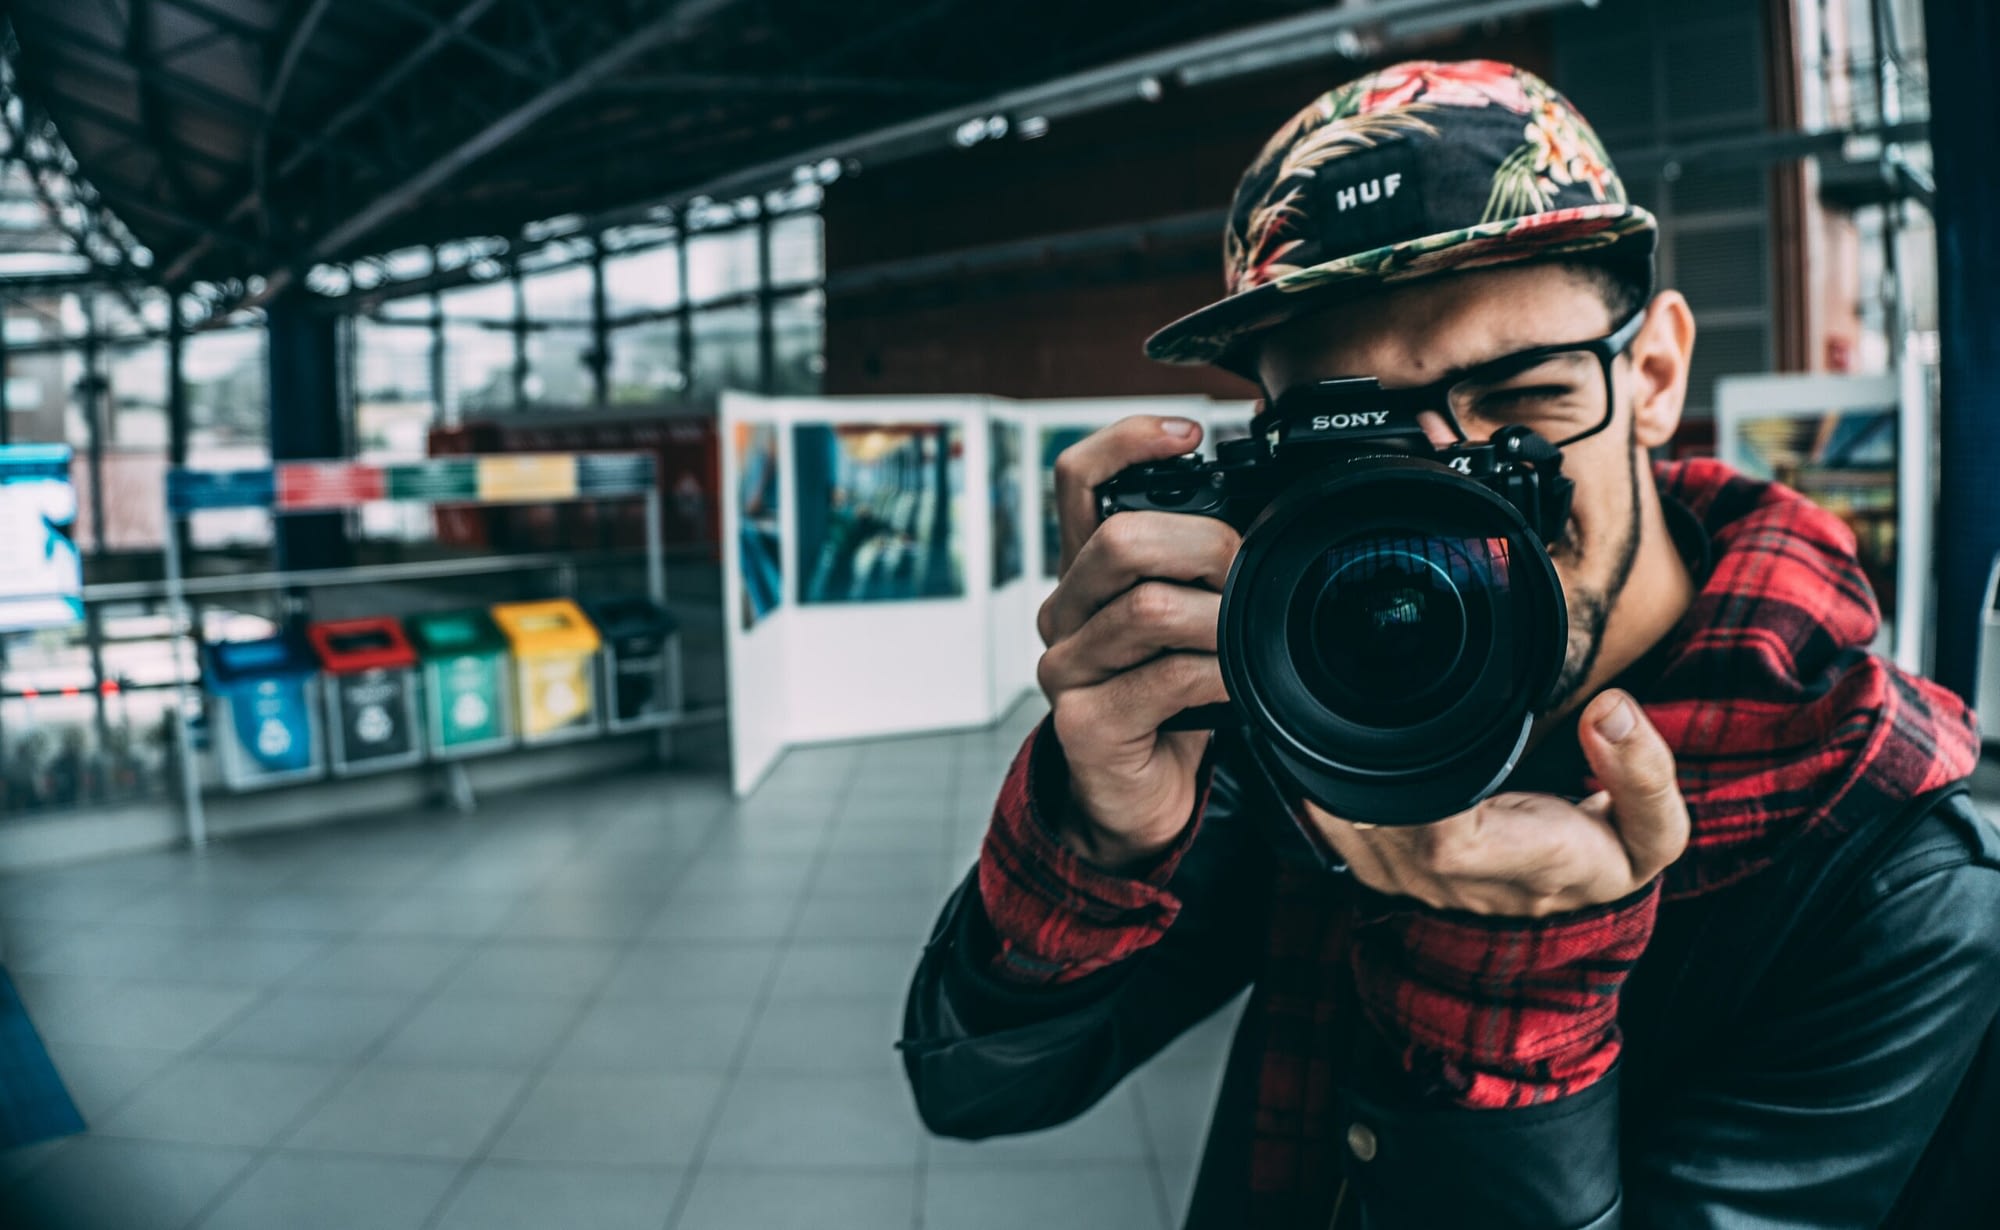
Product photos should be eye-catching. However, some products are difficult to photograph, and many Etsy sellers are unsure how to stage their items. Whether your products are large or tiny, sparkly or matte, there are several measures to make your product images stand out.
Whether you sell artwork, jewelry, clothing, vintage, or furniture, learn how to take excellent photos in this article.

Small Objects
Tiny products, such as tie clips and cufflinks, as well as pins and patches, might be challenging to capture. Use these strategies to make your product images for your small items looking great.
Show Details
A close-up photo or two can help show off the quality and texture of your small products, as well as emphasize minor details that would otherwise go missing.
A macro lens is beneficial if you have a DSLR camera since it is built specifically for focusing closely. If you have a point-and-shoot camera, macro mode (sometimes symbolized on the camera by a picture of a flower) improves your camera’s ability to focus at a close range, picking up specific product features.
Perfect the Focus
Mounting your camera on a solid surface, such as a tripod or table, can help you capture the clearest photos possible, regardless of the camera you use. When you hold the camera with your hands, you may move it slightly, resulting in fuzzy photographs.
If you sell small products that tend to roll, like beads, consider using prop wax to fix them in the shot.
Choose a smaller aperture for an image that focuses on the entire product rather than just a piece of it. Select the lowest aperture setting available on your digital camera in manual mode — this will be denoted as the biggest “f-number” on your camera, such as f/22. Shooting at an angle with a wide depth of focus will help give your photos perspective.
Show Scale
It can be difficult to portray a sense of size in pictures of small products. Shoppers want to know how that hair bow will appear on a person’s head or how low those necklaces will hang. To demonstrate scale, place your object next to something else.
If you’re selling accessories, try to place them on a model if at all feasible. If you’re selling a non-wearable item, place it beside household items or relevant materials. You may even use your hand as a comparison by photographing yourself holding your goods.
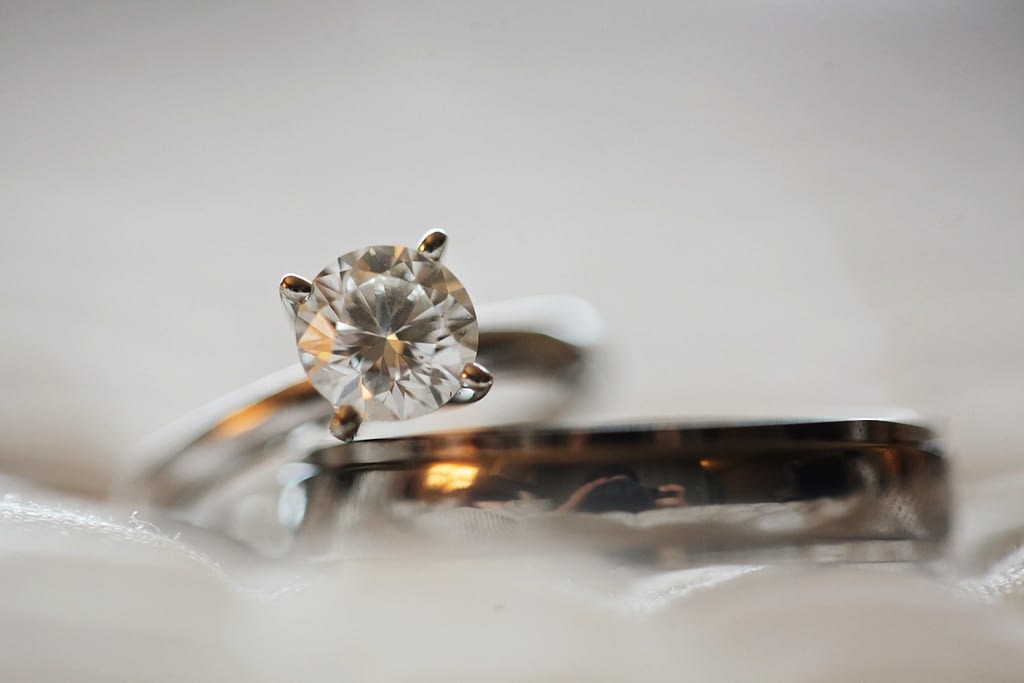
Jewelry
It can be difficult to convey the shine and intricacy of jewelry through photographs. However, there are specific actions you can do to make your product images stand out.
Select a Background that Complements Your Brand
There is nothing to distract the customer from your product with a pure white backdrop. It also brightens the light, which is useful when photographing a dark object. Use a lightbox, a simple white piece of paper, or unwrinkled cloth.
A non-white backdrop also has advantages. It may add ambiance to the jewelry, creating its mini-world. If you regularly deal with pearls, for example, you might shoot your items on some beachy pebbles or with a sprinkle of sand. Make sure your pick isn’t too busy since tiny jewelry can easily be buried in a cluttered setting.
Consider the overall appearance and feel of your store. Is the background consistent with the overall brand image? Will your target customers be able to relate to it?
Play Around with Your Camera’s Settings
Your camera settings allow you more influence over the outcome of your photograph. If you want the darkest areas of your jewelry to be more detailed, add a little extra light by using a lower f-stop or a slower shutter speed. To avoid overexposed photos, do the reverse.
Depending on how advanced your camera is, you may be able to experiment with these settings if you’re using a point-and-shoot. You may, for example, shoot in manual or aperture priority mode or choose a higher ISO to allow in more light.
When photographing white, sparkling, or extremely brilliant jewelry, add one or one-and-half to the photometer’s measured values, resulting in higher f-number and shutter speed figures.
Balance the Lighting
Excessive light on shiny items will blur detail. If there is insufficient light, the brilliance will fade. Using a dark reflector, you may achieve a natural light balance.
A piece of black or dark paper held near one or both sides of the item can suffice. The black reflection on one side of the object creates depth. This works well with high-shine products.
Try lighting from behind for semi-translucent materials like diamonds or glass. Close your eyes and turn off the flash. This method is excellent for displaying depth and intricacy.

Flat Artwork
How do you make flat art product images appealing to the eye? The objective is to make the artwork stand out on a screen, demonstrating to consumers that your work is a real thing rather than a digital file.
Use Frames
Frames add visual weight to your work and make it appear more like an item. Choose a frame that complements several of your pieces and rotate different photos in and out of it throughout shooting. Remove the glass from the frame, if possible, to decrease glare and prevent yourself from showing up in the reflection.
If the glass cannot be removed, consider photographing from an angle, either slightly below or to the side of the item. Consider mounting your camera on a tripod, zooming in, and setting a timer to allow you to walk out of the picture. Neither the camera nor your body will be reflected in this manner.
Show Scale
Holding your work or letting someone else hold it provides buyers with an immediate feeling of the item’s size in relation to your hand and helps the goods look more tangible. Before making a purchase, shoppers like to pick up and touch items. Your hand becomes the viewer’s hand, allowing them to view the art as if it were a genuine thing.
Pick the Correct Setting
Where do you want your artwork to be shown at the end? Would it look well leaning on a desk or hanging on a kitchen wall? Try shooting your work in a home or workplace setting to help consumers see how the product may fit into their own life. Because the background should never compete with your paintings, muted-toned walls work nicely. Wood is also a lovely backdrop that gives warmth to the image.

Furniture and Other Large Items
If you offer bulkier items, your photo setup will undoubtedly be larger, but it doesn’t have to be intimidating or complicated. Your product images will capture a shopper’s attention and provide vital information about your goods if it is in the proper location, lighting, and backgrounds.
Set the Scene
Use a simple background, whether in front of a blank wall or a location where you can hang a smooth white sheet or roll of paper. Large seamless rolls of paper may be found online or at your local art supply store. Styling your goods may help buyers imagine it as part of their own lives in their homes—make it obvious what’s for sale.
You’ll also need plenty of space to work with, preferably three times the size of your product. Find a location where you can transport your goods with moderate ease and enlist the assistance of a buddy. Prepare to move furniture and household items out of the way to get a clear shot. You can also use dollies to help you move larger things.
Show the Whole Product
Shoot with a lower aperture (at least f/8 or f/10) if you have a DSLR camera to guarantee the entire product is in focus. To reduce distortion, look for a lens with a focal length of 50mm or larger. Take photographs from several perspectives to give the buyer an accurate idea of what they will get. Move as far away from the thing as possible to include the entire item in the frame.
Scale Shot
Take a snapshot of your product next to someone or an everyday object to demonstrate its size. Your scale photo may be as simple as putting some house plants on one side of your old couch or putting an umbrella and rain boots beneath the bench you built. Creating a scenario also allows customers to see how the item will fit in their homes.

Vintage Items
Because each item is unique, selling vintage items might pose photographic problems. There are specific measures you can take to simplify your photography process regardless of what you offer.
Work in Batches
Set aside a place in your workspace for pictures. Maintain your tripod, props, dress form, or background in place. Even if you can’t set up a separate photographic location, you may save time by photographing a big group of things every time you set up your equipment.
Labels, markings, tags, stamps, zippers, hemlines, and patterns are all vintage elements that should be documented for your purchasers. Different parts of a work may necessitate various setups. Special details can be captured by photographing straight on with a tripod, from above, or from dynamic angles.
Before switching to a new format, shoot in batches and capture all things using the same picture setup. Before altering your arrangement, for example, if you’re photographing an antique china dish on a display stand, see if you have any additional dishware that may be shown in this manner.
Show the Item’s Condition
Because vintage antiques might have flaws, it’s critical to show each piece’s actual state through your product images. If you’re selling a garment with some discoloration, for example, make sure to highlight it in at least one shot. Note the flaw in the product description too. Being truthful and detailed establishes consumer expectations and helps avoid unpleasant shocks, which might lead to returns.
Now that you’ve learned how to photograph challenging items to make your product images eye-catching, read the article Video Content Ideas for Your Etsy Listings for more tips.


